Showing posts with label Altered items. Show all posts

Saturday, August 11, 2012

A Summer Crop


While it was a beautiful sunny day in Dublin today I didn't mind spending some of it indoors. I was attending a local monthly crop. Jackie Campbell, a very talented Irish scrapbook artist gave our group a tutorial on altered art. I made the above altered canvas with her guidance and following her original layout. I was pushed out of my comfort zone as  I mixed colours and painted with my fingers !  It was a thoroughly enjoyable day as we all crafted  with great concentration and happily went on our way with our completed pieces.  I'm delighted with mine. It will make a nice gift for my two little nieces home from the UK for their summer holidays.

I used some papers from the Tilda range - Flowergarden and Christmas House. I mixed acrylic paints to match the patterned papers and Jackie provided the stamps, die cuts, and wording from a range by Theresa Collins

Monday, June 11, 2012

More Tilda by Panduro Hobby - Christmas House and Flowergarden - projects


I spotted these wall rack coat hangers in a local discount store at a reasonable cost and decided to alter some with paper from the lovely TILDA Christmas House and Flowergarden range. The papers are great quality and the designs go well with my plans for my stall display at the Christmas fairs this year. I was pretty pleased with results so carried on making 34 of them. I made a couple of boy racks using paper from K and Company - Rough and Tumble line. The racks cost me 1.50 euro  each and I hope to sell them for approx 8 euro each for charity. Will let you know how I do in December !

For my CRAFT FAIR IDEA followers - some samples and tutorial below.
While I enjoy pottering  away on crafting projects I also like to improve my computer skills. I was inspired by the layout of a tutorial given on Nichole Heady's Papertrey ink blog to go and teach myself how to prepare the layouts below. Though I think I need a bit longer to learn how to take better photos. Bare with me it might be a while ! 


Supplies:

Patterned paper by Tilda (Panduro Hobby) Christmas House and Flowergarden ranges,
Mod Podge - gloss
Pink ribbon from stash
Go Kreate label die
Farrow and Ball emulsion paints

Wednesday, May 16, 2012

Shabby Chic Fabric Notice Boards


I spotted a fabric notice board in a shopping mall in Dubai costing approx 20 euro. Looking a little closer I could see it looked as if I could make something similar for the next craft fairs. I already had a nice stash of fabrics, batting,  ribbons. I knew there was a staple gun in the work shed. All I needed was a piece of light wood for the backing. Looking around the house I hit upon the idea of using an artists canvas board. They are pretty reasonable to buy and are light weight. This turned out to be a  really quick and easy project to make. With a little embellishment it makes an ideal stocking filler for the Christmas fairs.

 
 I started by cutting a piece of batting to the size of the canvas and attached it to the top of the canvas with a small piece of double sided adhesive tape in each corner.
I then placed it upside down on a piece of fabric(wrong side up) big enough for each side to fold over the edges and tuck under the wooden frame.

 I then started by stapling the fabric to the frame, pulling it tight.
 When I had attached the four sides. I tided up the corners by cutting a small amount off each corner so that I could tuck the fabric under neat and tidy.


 I then turned in over and laid out the ribbons in a suitable pattern. Make sure you cut the ribbons long enough to tuck under at the back.  You can use as many rows as you like.
 The ribbons were attached with long straight sewing pins to keep them in place while I turned the frame over again and stapled the ribbons to the back tucking the ribbon edges under the frame too.


That's it. All it needs is a button or buttons depending on your preference. I could have used brads but that would have increased my cost base for each of the notice boards plus I like the idea of clipping notes on with paper clips or the altered pegs.

The tags I made using a tag template I had and I embellished with scraps of  papers from the  Tilda range (Flower garden and Christmas House) and added glittered stickers from Making Memories FA LA LA. The pegs I painted with acrylic pink paint and covered with scraps again from the above Tilda line.

The floral fabric and the pink one with red polka dots are from the Rosalie range in Ikea. The other red and white fabrics are from a local fabric shop.

Wednesday, April 25, 2012

Papertrey April Blog Hop Challenge


The inspiration for the challenge was from the following photo.

Well HELLO there !

Having had a VERY VERY  busy few weeks leading up to Christmas with last minute crafting for the craft fairs I am only getting back now to blogging. Thankfully all the hectic preparations and extra work for the fairs paid off and I raised 2002.30 euro for SVP Ireland (Dublin branch). A big sincere thank you to all my crafting buddies in Ireland for your support, motivation and encouragement.

I am back with this notebook cum desk note pad. I was shown this  idea of using an easel card on the top of the notebook by a crafting buddy. She had  learnt it at a card making class http://jackiesworkshops.blogspot.com/ here in Dublin. I adapted it to work on the long skinny notebooks as these are my favourite. For this sample I used my Tesco notebooks ( I just could n't open my little treasured set of  Papertrey Ink ones !)

I have prepared this project to partake in the Papertrey Ink April 2012 Blog Hop. I promised myself no matter what happened this week I was going to join in. I got inspiration for the top of the notebook from http://lilybeanpaperie.typepad.com/lilybeans_paperie/.  I hope you enjoy.

Papertrey Ink items used :   sentiment from Daydreamer Set and green felt.
Patterned papers from Flowergarden paper pad by Tilda, ribbons and lace from stash. Trinket pin made from fancy beads and long sewing pins.

Wednesday, September 28, 2011

Magic Reindeer Food


This year I am planning on making the Magic Reindeer Food in these little test tubes. I first came across them hereKerryspapercrafts but I couldn't purchase them at a good price until this year.  I ordered 250 of them online for this years craft fairs  but  accidentally I  hit the order twice. They were sent to my brothers home in the US for me to collect and take back to Ireland. Thankfully some sensible person completing the order rechecked with me and I was able to confirm I only wanted 250 !  You can imagine my brother and sister-in-laws bewilderment when they arrived. To finish the story I was stopped by customs on my return journey. The guy asked where I had been, how long I had been away for and why did I have so much luggage.  The poor man, I am sure he thought he had seen  and heard it all until he heard my explanation for the test tubes. It was so crazy it had to be true. He waved me on my way and wished me well !

I tried to source the reindeer stamp  used by Kerry on Ebay. The set was too expensive as I only wanted the reindeer stamp. I decided to make my own digital image using a card making software set.  If you would like to use it to make some of your own here is a link for my download.


and the poem to punch and stick on the back of the above label


I am planning on using red sugar strands to liven up the porridge oats in the containers. So wish me happy times filling and completing the remaining 240 or so tubes.  

I used a Papertrey Ink die for the tag and some bells and ribbons from stash.

Sunday, September 11, 2011

Ikea Tolsby frame - Birthday Book


These little frames are so versatile. When I googled these frames originally I came across this

http://scrapalicious-creative.blogspot.com/2011/05/100-days-of-summer.html

and wanting to make some birthday books for the craft fairs I thought I adapt the idea.
I used my bind in all to attach to frame but you could use ring clips too. All supplies I had at hand in stash.
I created a template for the months but I want to tweak it a little before I make a pdf file and share.  I also have another little idea I am working on using the acrylic inserts from this frame. Will do my best to share tomorrow.

Happy Sunday !

Wednesday, January 19, 2011

Altered Tin

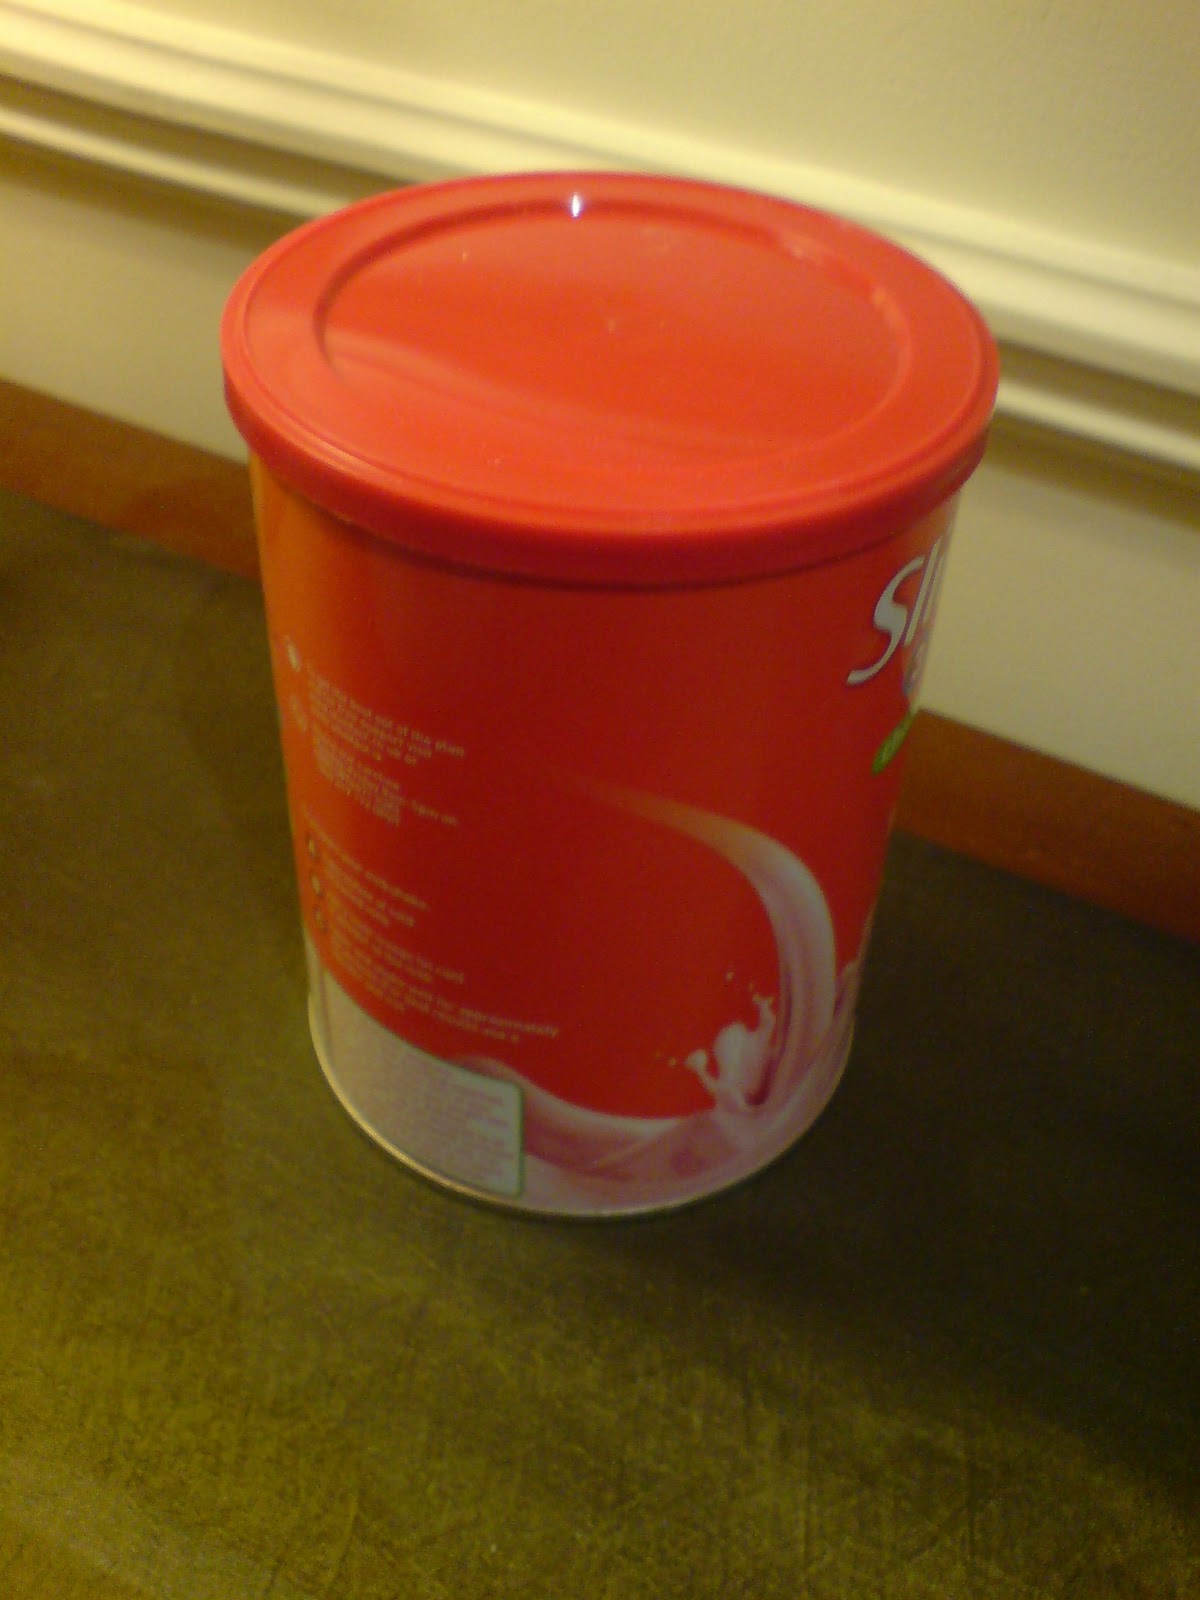
Sometimes when I am chucking tins or containers into the  recycle bin I stop and think what else could I make with them. It was fun making this little project and I was very happy with the finished result. It  will be used  as a saving box for something special later this year. 


Check out this site for my original inspiration.

http://notimetostamp.blogs.splitcoaststampers.com/2009/12/03/altered-cookie-tins/

LinkWithin

Related Posts Plugin for WordPress, Blogger...